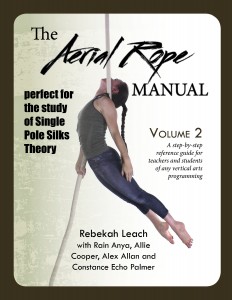
What’s Inside The Aerial Rope Manual Vol 2?

rope coverVol1new with silks ad

When I think of rope, I think of all the hard stuff: back balances, meathooks from a deadhang, one arm hangs, momentum, etc. But you can’t start there. The Aerial Rope Manual Volume 1 is the starting place for anyone who is looking to start their aerial journey and build up strength. However, The Aerial Rope Manual Volume 2 feels like this is where it really starts. We get to the good stuff. The hard stuff.

Chapter One introduces more building blocks of rope that are generally harder than what was found in Volume 1. I feel like once a student knows every building block of a certain apparatus, then the fun can begin. The rest is just choreography and transitions between all the building blocks. Some of the major building blocks are: inversions, climbs, opposite and same side wraps (OS and SS), s-wraps, crucifix (’round the back) and moves that are derived from these (all in Vol1). Now in Vol2 are:  front balance, back balance, break beat, shoefly, meathooks, Amazon and the wraps of focus are all things in hitches.

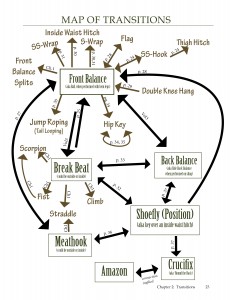
Chapter Two connects pathways between all the major building blocks that were covered in Chapter One. This picture should tell all:

chapter23

This is the kind of fun you’ll find in this book to help you navigate the world of rope (or silks with poles together).

Chapter Three is dedicated to seatbelts, which are a type of hitch around the thigh. I feel like this is where the theory of the book really starts to make itself apparent. I used theory to brainstorm pathways for the book, as well as to tidy up the language and systems we use for viewing pathways to and from hitches. Seatbelts starts this conversation and then…

Chapter Four summarizes the findings of chapter three and adds to them with putting together a ton of information about all the major hitches. Since some classic hitches such as ankle and knee hitches were introduced in Volume 1, this chapter focuses mostly on the hitches around the thigh and waist. A large goal of the chapter is to provide a language with which to speak about any hitch. You will never read the words “inside” and “outside” the same after studying this manual.

 
Chapter Five takes on a different direction all together, closing out the book with an introduction to momentum. In the words of one aerial teacher, this chapter is “worth rubies, diamonds and gold on its own.” It’s worth it to purchase the whole book just for this chapter alone.  It contains all the foundational ideas that can then be applied to create your own momentum sequences into all the building blocks that have been covered thus far. Molly Graves commented, “Especially exciting is the final chapter on momentum pathways and beats—skills whose very nature makes them hard to pin down!” Dynamic movement can be tricky to put on paper, but with the help from expert rope artists such as Alex Allan and Allie Cooper, the world of momentum has been translated to a 2-D medium in precise detail.

Overall, this book will help you understand the world of rope or fabric better. You’ll also get ideas for training moves, how to properly progress moves, what the prerequisites are for each move, and for teachers, get teaching tips from the best aerial coaches in the world.

This book was a huge investment and is supporting a lot of artists. I hope you’ll support our work and help it to be continued by making a purchase of the book. Go here to check it out. 


New Level System on the Hoop Cards

hoop cards levels

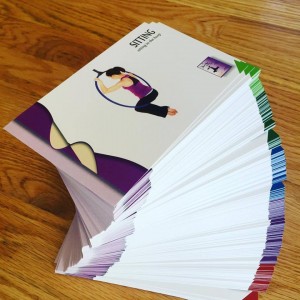
Our hoop/lyra cards have been newly revised to include colored triangles in the color denoting levels for the moves. So, I wanted to take a moment to talk about the level system. You can get totally nerdy with us regarding what goes in what level at our teacher trainings. Check out the schedule here. 

Green = Level 1

Now, just because it’s Level 1 does not mean it’s the easy for everyone. There are things that are considered aerial basics like holding yourself in a bent arm position that some people might take years to work up towards. Everyone starts at such different places of strength that it’s important to allow for a great variety of expectations. To help cater to populations that will take more time to get to inversions, I included a subset of beginning moves that are shaded light green. These are Level 0. The moves in Level 0 should be presented first to all students; these moves may be staple moves for the curriculum of students who come in with more weight, weaker arms, lower body awareness, etc. Other students are going to zip right through Level 0 and will be eager for everything in Level 1.

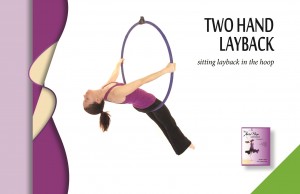
Here’s an example of a move in Level 0:

Hoop Cards15


Here are hoop moves in Level 1:


Hoop Cards44Hoop Cards67


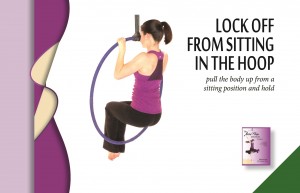
Level 1 is designed to prepare students for inversions which make up the bulk of Level 2. Anything that can be done to help build grip strength, pull-up strength, hamstring strength and core strength while not requiring too much of it are the moves to expect in Level 1. As well as any pretty shapes performed from sitting and standing in the hoop.

Blue = Level 2

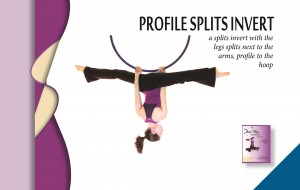
Level 2 is when students start working on inversion strength. They should come in ready for the skill by being decent at the froggie invert under the bar (Level 1), and show that they have sufficiently developed their grip and core strength. By the end of Level 2, students should be experts at inversions. They should be able to invert anywhere, under the hoop, in the hoop, in the ropes on top of the hoop, etc. They should be able to do various shapes in those inversions: ball, pike, straddle, splits, arched arrow, and many more.

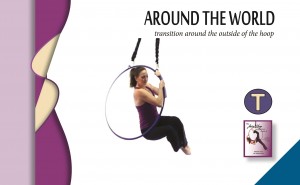
While inversions define Level 2, that is not all that is in Level 2. Once a student starts to master inversions, it demonstrates that they have necessary strength for other moves and transitions for harder moves. One example is a transition around the outside of the bar called “around the world.” In order to do this move, a student has to fully trust their grip strength and have the body awareness to make the journey around the outside of the hoop. Even though this isn’t an inversion, it requires the skill set of inversions: strong grip that you can trust with all your weight, body awareness, and core control. So these are the kinds of moves you’ll see in Level 2.

Here are some examples of hoop moves in Level 2:

Hoop Cards132


Hoop Cards104

Purple = Level 3

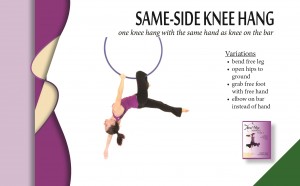
Level 3 moves are the moves that have a higher degree of complexity to them. They might require a combination of both strength and flexibility. The danger level might be higher than that of Level 2; they might have little room for error. They might require all the core control of inversions plus the ability to find a point of balance on the lyra bar.

You’ll see a great variety of moves in Level 3, everything from moves that depend on the hook of the knee to moves that depend on the hook of the elbow. You’ll see tons of ways to do splits and other ways to show off flexibility.

Here are some examples of hoop Level 3 moves:

Hoop Cards225Hoop Cards227

Red = Level 4

Level 4 moves are just plain hard. (They are moves that I am still working on myself!) They are the moves require extreme something whether it be extreme strength, extreme flexibility or extreme pain tolerance. Moves such as lion rolls require a very high level of shoulder flexibility and body awareness and control to execute. That’s a move I actually am finding easy these days, but I don’t know a lot of people who can do them. That’s how I knew to put them in Level 4.

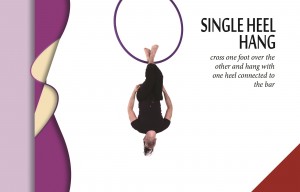
If it’s hard to find an aerialist who can do a particular move, it’s a Level 4 move (when looking at the average aerial student population). You’ll find toe hangs, heel hangs, y-scale, and more all here.

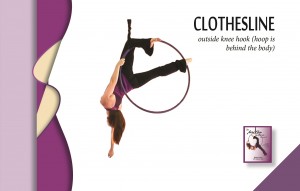
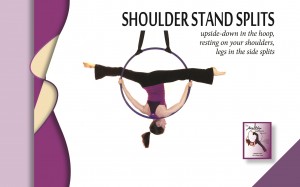
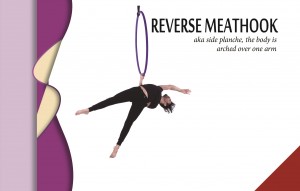
Here are some examples of Level 4 hoop moves:

Hoop Cards282Hoop Cards287


Rebekah Leach loves talking all about curriculum at teacher trainings. Check out her teaching schedule at www.borntoflyaerial.com.

Find out more about the lyra/hoop cards here.